Home » Campervan Electrics Explained: A Beginner’s Guide (No Degree Required)
Campervan Electrics Explained: A Beginner’s Guide (No Degree Required)
Right, let’s talk about campervan electrics without making your brain hurt. We promise – no complicated diagrams, no technical jargon you need a dictionary for, just straight explanations of what matters when travelling the UK in a campervan.
If you’ve ever stared at your van’s control panel thinking “what does any of this mean?” – this guide’s for you.
12v vs 240v: What’s the Actual Difference?
Think of it like this: your van has two separate electrical systems running side by side.
12v System (The Van’s Native Language)
This is your van’s primary power source. It runs off batteries – either your engine or a separate leisure battery (more on that in a minute).
What runs on 12v:
- Your van’s lights
- Water pump (if you’ve got one)
- Fridge (usually)
- USB charging points
- Diesel heater
- Ventilation fans
Why it matters: 12V is always available. You don’t need to be plugged in anywhere. That’s why you can wild camp and still have lights and a phone charger.
The catch: 12V is limited. You can’t run a hairdryer, kettle, or laptop charger directly from it. You can with an inverter (we’ll get to that), but it drains your battery fast.
240v System (Normal House Power)
This is standard UK mains electricity, the same as your house. It only works when plugged into a hookup point at a campsite or using an inverter.
What runs on 240v:
- Kettle
- Toaster
- Hairdryer
- Laptop charger (the typical plug kind)
- Phone chargers (the plug kind)
- Portable heaters
Why it matters: It lets you use everyday household appliances. Makes van life feel more like home.
The catch: You need to be plugged into a hookup point. No hookup? No 240v. We’ll get to those unless you’ve got an inverter or generator.
The Simple Rule
If it has a standard three-pin UK plug, it needs 240v. If it has a car-style plug or USB connection, it’s 12V. It’s not complicated once you understand it.

Battery Types Explained (Without the Science)
Your van has two batteries. Understanding them stops you from making expensive mistakes.
Engine Battery (Starter Battery)
What it does: Starts your engine. That’s it. That’s its job.
What you need to know: Don’t run stuff off this when the engine’s off. You’ll flatten it, and your van won’t start. We’ve been there. Calling breakdown services from a supermarket car park is embarrassing because you left the phone charger plugged in overnight.
Key point: Most vans have a split-charge system that stops you from accidentally draining the engine battery. But not all. Check yours.
Leisure Battery (House Battery)
What it does: It powers everything when you’re parked, including the lights, water pump, fridge, and USB points.
What you need to know: This is the one you can drain (though obviously you don’t want to). It recharges when you drive or when you’re plugged into a hookup.
Capacity matters: Leisure batteries are rated in amp-hours (Ah)—a bigger number = more power stored. A typical setup is 100-110Ah, which will run your basics for 2-3 days without recharging.
Battery Types: The Three Main Options
1. Lead Acid (the cheap one)
- Cheapest option (£80-120)
- Heavy
- Needs ventilation (they can release hydrogen gas)
- Don’t like being fully discharged
- Lasts 3-5 years
Suitable for: Budget builds or occasional use.
2. AGM (the middle ground)
- More expensive (£150-250)
- Sealed (no gas release)
- Better at handling being discharged
- Still quite heavy
- Lasts 4-7 years
Suitable for: Most campervan setups. What we’d recommend for regular use.
3. Lithium (the fancy one)
- Expensive (£400-800+)
- Lightweight
- Can be almost fully discharged without damage
- Charges faster
- Lasts 10+ years
Good for: If you’re living in the van full-time or doing serious off-grid camping. The cost works out over time, but the upfront price stings.
How Long Will My Battery Last?
Depends on what you’re running. Here are rough estimates for a 100Ah leisure battery:
Light use (just LED lights and phone charging): 3-4 days Moderate use (lights, water pump, fridge, phones): 2-3 days Heavy use (all of the above plus laptop, fans, etc.): 1-2 days
This assumes you’re not recharging. Drive for an hour and you’ll top up 20-30 %. Plug into the hookup, and you’ll recharge the battery fully overnight.
Solar vs Hookup: Pros, Cons, and Reality
Two ways to keep your batteries charged. Both have their place.
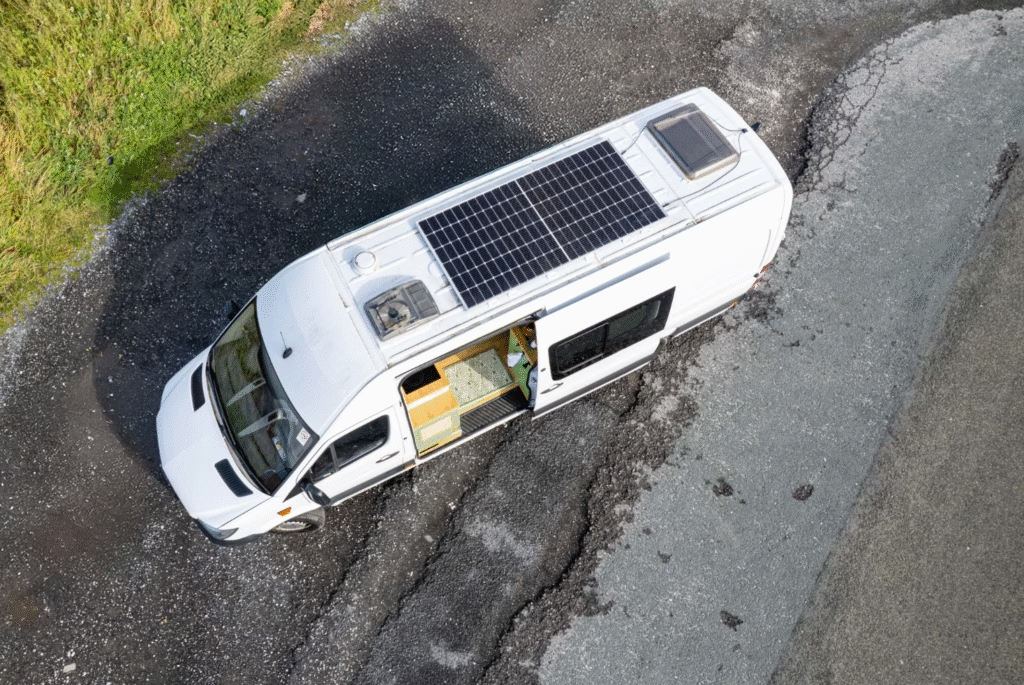
Solar Panels
How they work: Panels on your roof convert sunlight to electricity, charging your leisure battery even when parked.
Pros:
- Free power from the sun
- Charge while you’re wild camping
- No need to find hookup sites
- Great for extending battery life
- Environmentally friendly
Cons:
- Upfront cost (£200-600 for a decent setup)
- Need roof space
- British weather means inconsistent charging
- Won’t charge much in winter
- Not enough for power-hungry devices
Reality check: A 100W solar panel in British summer might give you 30-50Ah per day in good weather. In winter? 10-15Ah. It’s supplementary power, not replacement power. Brilliant for keeping your battery topped up, but you can’t run a kettle off it.
Who needs solar: Anyone planning regular off-grid camping or longer road trips away from hookup sites.
Hookup (Electric Hook Up / EHU)
How it works: You plug your van into a campsite’s electricity supply. You get unlimited 240V power, plus it charges your leisure battery.
Pros:
- Unlimited power (within your amp limit)
- Use any household appliances
- Fully recharges batteries overnight
- Reliable regardless of the weather
- Can run heating all night in winter
Cons:
- Costs extra (£3-8 per night typically)
- Only available at campsites with facilities
- Limits where you can park
- Some sites have limited hookup points
- Need the right cable (more on that below)
Reality check: Hookups are brilliant for comfort. If you like using normal appliances and don’t want to think about power management, choose campsites with hookups. Simple.
Who needs a hookup: Anyone camping in autumn/winter, families who want home comforts, or people who just want things to work without thinking about it.
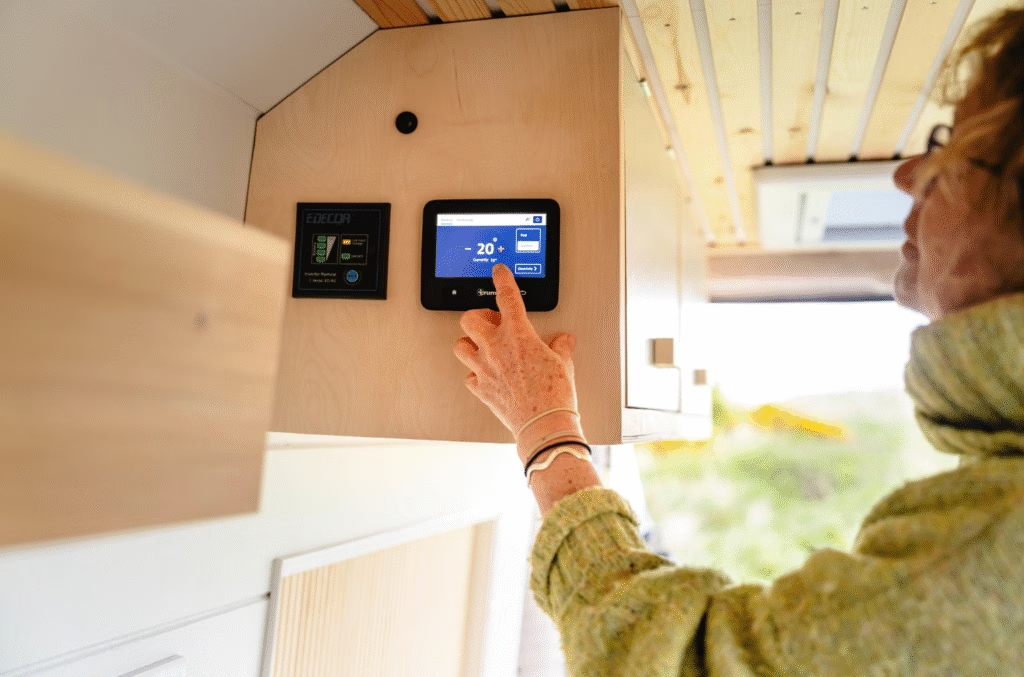
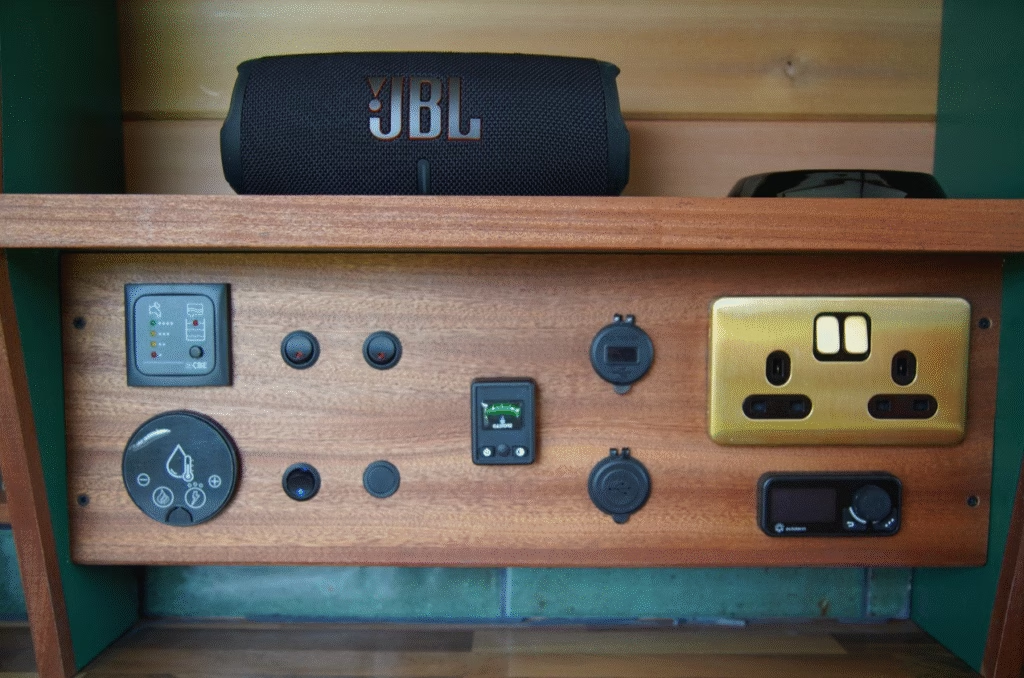
Understanding Your Control Panel (The Mysterious Box)
Every van’s different, but most control panels show similar information. Here’s what those numbers and symbols actually mean.
Battery Level Indicator
Usually shows as a percentage or voltage:
- 100% / 12.7v = Full battery
- 75% / 12.4v = Three-quarters charged
- 50% / 12.2v = Half charged
- 25% / 12.0v = Getting low (recharge soon)
- 0% / 11.8v = Dead (you’ve overdone it)
A rule of thumb is not regularly let it drop below 50%. This is not good for batteries, especially lead-acid ones, in the long term.
Amp Usage Display
Shows how much power you’re currently using. Measured in amps (A).
- 0-2A = Just lights and maybe phone charging
- 3-5A = Lights, water pump, phone charging
- 6-10A = Add the fridge into the mix
- 10A+ = Something power-hungry is running
Why does it help you spot power drains? If you’re using 8A and you’ve only checked on it, check what’s switched on.
Solar Input Display
If you’ve got solar, this shows how much power the panels generate.
- 0A = Night time or very cloudy
- 1-3A = Overcast or winter sun
- 4-6A = Decent sunshine
- 7A+ = Glorious summer day
Reality check: You’ll rarely see big numbers in Britain. 3-4A is good going most days.
Hookup Status
There is usually a light or symbol showing if you’re connected to mains power. Green means connected, and off means running on battery.
Important: Just because you’re plugged in doesn’t mean everything works. Your hookup has an amp limit (usually 6A or 10A). Run too much at once and trip the campsite’s circuit breaker. Ask us how we know.
Common Electrical FAQs
“Can I use a normal extension lead?”
No. For 240V stuff, you need a proper outdoor camping hook-up cable when you’re on a hookup. They’re weatherproof and rated for the job. Indoor extension leads aren’t safe in wet conditions.
“Will my phone charger drain my leisure battery?”
Barely. A phone charger uses about 0.1-0.2A. You could charge your phone 50+ times before flattening a 100Ah battery. Charge away.
“Can I run a hairdryer?”
On a hookup? Yes. On a battery with an inverter? Technically, yes, but you’ll drain your battery in about 10-15 minutes. It’s not practical. Air-dry or use campsites with facilities.
“What’s an inverter, and do I need one?”
An inverter converts 12V DC (battery power) into household power, so you can use standard connected devices when you’re not on a hookup.
Do you need one? Depends. If you need to charge a laptop occasionally, a small inverter (300W) is handy. You need a big inverter (2000W+) and serious battery capacity if you want to run kettles and toasters off-grid. Most people don’t need one if they’ve got USB charging sorted.
“How long does driving charge my battery?”
The rough rule is that an hour of driving charges about 20-30% of a 100Ah battery, depending on your alternator and split-charge system. A day of driving (4-5 hours) will pretty much fully recharge a depleted battery.
“Can I add more batteries?”
Usually, yes. Adding a second leisure battery doubles your capacity. But you need space and proper wiring; they must be identical batteries. This is not a DIY job unless you really know what you’re doing.
“Will my fridge work without a hookup?”
Most campervan fridges run on 12v from your leisure battery, but some fancy ones also run on gas. Check your fridge setup. A typical fridge uses 2-4A, so figure about 50- 100Ah daily. Battery capacity matters.
Safety Basics: Don’t Burn Your Van Down
Electrics can be dangerous. Here’s what you absolutely need to know.
Fire Safety
1. Never overload sockets. Use only one high-power device per socket. Do not piggyback four things on adapters when you’re on hook-up.
2. Keep a fire extinguisher. Mount it where you can reach it quickly. Check if it’s rated for electrical fires—more information is in our security guide.
3. Check cables regularly. Frayed wires and burning smells mean stop using them immediately.
4. Don’t charge batteries in enclosed spaces. When charging, lead-acid batteries release hydrogen, which is explosive. They need ventilation.
Water and Electricity
5. Keep electrics dry. Water and 240V don’t mix. Keep your hookup connection off the ground and covered if it’s raining.
6. RCD protection. Your hookup inlet should have an RCD (residual current device). It trips if there’s a fault, stopping you from getting electrocuted. Test it occasionally.
Battery Safety
7. Don’t short-circuit batteries. It sounds obvious, but dropping a spanner across terminals creates a massive spark that can weld the spanner to the battery. We’ve seen it happen, and it’s scary.
8. Disconnect before working. If you do anything with your electrical system, disconnect the battery first. Both terminals.
9. Fuses are your friends. Every circuit should be fused. If something goes wrong, the fuse blows before your van catches fire. Don’t bypass fuses. Ever.
When to DIY vs Get a Professional
Some electrical jobs are fine to tackle yourself. Others? Pay someone who knows what they’re doing.
Safe for DIY (If You’re Careful)
- Replacing blown fuses
- Changing LED bulbs
- Plugging into a hookup
- Installing USB charging points (if you can follow instructions)
- Adding stick-on LED strips
- Mounting a solar panel (wiring it in is different)
Key: If it’s low voltage (12v) and you connect pre-made components, fine.
Get a Professional
- Installing a split-charge system
- Wiring in a new leisure battery
- Installing an inverter
- Connecting solar panels to your system
- Anything involving your alternator
- Any 240V wiring in the van
- If you’re not confident
Reality check: Dodgy electrical work can burn your van or kill someone. If you’re not sure, pay someone. Electrical work for van conversions needs to be done properly.
Cost: Expect £50-100 per hour for a qualified auto electrician. A basic leisure battery installation might take 2-3 hours, and a solar panel installation 3-5 hours. Expensive, but cheaper than replacing your van.
Troubleshooting: When Things Go Wrong
Problem: Nothing’s working, and my battery’s dead
Check:
- Is the battery actually flat? Check voltage or percentage.
- Is the battery connected? Terminals can work loose.
- Are there any blown fuses? Check your fuse box.
- Is your battery isolator switched on? Some vans have a master cut-off switch.
Fix: If the battery is flat, you need to recharge it. Drive for a few hours or plug into the hookup overnight. If it won’t hold a charge, the battery might be dead and need replacing.
Problem: My hookup keeps tripping
Likely causes:
- You’re using too many high-power devices at once
- The campsite’s hookup is only 6A, and you’re running 10A worth of stuff
- There’s a fault in one of your appliances
- Your hookup cable is damaged
Fix: Turn everything off, plug everything back in, and add devices one at a time to find the culprit. If it trips immediately with nothing running, there’s a fault—get it checked.
Problem: My solar panel isn’t charging
Check:
- Is it actually sunny? Panels need direct sunlight.
- Is your leisure battery already full? If it’s at 100%, panels won’t charge it further.
- Is the solar controller showing any error lights?
- Are the panels clean? Dirty panels charge poorly.
- Is something disconnected? Check all connections.
Fix: Most “problems” are just cloudy British weather. If panels have never worked or suddenly stopped, check them by whoever installed them.
Problem: My lights keep flickering
Likely causes:
- Loose connection somewhere
- Battery voltage is dropping too low
- Dodgy earth connection
- Faulty lights
Fix: Check that all connections are tight. If your battery is low, recharge it. If one light flickers, replace it. If all lights flicker, there’s probably a wiring issue—get it checked.
Problem: Strong smell of burning
Action: Turn everything off immediately. Disconnect the battery if you can safely do so. Do not use the electrical system until you’ve found the problem.
This is serious. Burning smells mean something’s overheating. It could be a wire, a connection, or a failing device. Get it checked professionally before using the system again.
Understanding Amp Hours and Watt Hours (The Maths Bit)
You can skip this if you want, but it helps with planning.
Amp Hours (Ah): This is how much power your battery stores. A 100Ah battery can theoretically deliver 1 amp for 100 hours or 10 amps for 10 hours.
Watts (W) refers to the amount of power something uses. Your phone charger might be 10W, and a kettle is 2000W.
The calculation: Watts ÷ Volts = Amps
So that 2000W kettle on your 12v system needs: 2000 ÷ 12 = 167 amps. That’s why you can’t run kettles off batteries for long.
Practical example:
- LED light = 5W = 0.4A
- Water pump = 36W = 3A
- Fridge = 45W = 3.75A
- Total = 86W = 7.15A
If you run all three for an hour, your battery will use 7.15Ah. If you run them for 10 hours, your battery will use 71.5Ah. This is why a 100Ah battery lasts 1-2 days with regular use.
Power Management: Making Your Battery Last
1. LED everything. If you’ve still got halogen bulbs, switch to LED. They use about 10% of the power.
2. Turn stuff off. Sounds obvious, but water pumps and lights left on drain batteries fast. Get into the habit of switching things off.
3. Use 12V where possible. Charging your phone via 12V USB is more efficient than using an inverter to power a 240V charger.
4. Limit fridge use. Fridges are your most significant 12v drain. Keep them well-stocked (thermal mass helps), don’t open them constantly, and turn them down or off overnight if you’re low on power.
5. Drive regularly. Even an hour’s drive puts a significant charge back in your battery. If you’re parked up for days, your battery will drain.
6. Check your battery health. Old batteries hold less charge. If your battery is 5+ years old and not charging well, it probably needs replacing.
Electrical Terminology Demystified
Volts (V): Electrical pressure. Think of it like water pressure in a pipe. 12v and 240v are the two you care about.
Amps (A): Flow rate. How much electricity is flowing? Like litres per minute in that water pipe.
Watts (W): Total power. Volts × Amps = Watts. This tells you how much energy something uses.
Amp Hours (Ah): Battery capacity. How much power can it store?
Inverter: This converter converts 12V DC to 240V AC. It allows you to use standard plug devices to turn off your battery.
Split charge system: Clever wiring charges your leisure battery when you drive, keeping it separate from your engine battery.
MPPT / PWM: Types of solar charge controllers. MPPT is more efficient but more expensive. For small systems, PWM is acceptable.
RCD: Residual Current Device. A safety switch that trips if there’s an electrical fault. Stops you from getting electrocuted.
Real-World Electrical Setups
Basic (Budget Camping)
- Single 100Ah leisure battery
- Split the charge from the alternator
- 12v LED lights
- USB charging points
- No inverter, no solar
Suitable for: Weekend trips, campsite hopping with a hookup, and budget campervan holidays.
Cost: Usually included in hire vans or basic conversions.
Standard (Most People)
- 100-110Ah AGM leisure battery
- Split charge system
- 100W solar panel
- 12v lights and USB points
- Small fridge
- 300W inverter
Good for: Week-long trips, hookup and wild camping mix, four-season use.
Cost: £600-900 to install if you add to a basic van.
Advanced (Serious Campers)
- 200Ah+ lithium battery (or dual AGM)
- Split charge + B2B charger
- 200W+ solar array
- Full LED lighting
- Compressor fridge
- 2000W+ inverter
- Battery monitor
Good for: Full-time living, extended off-grid trips, winter camping.
Cost: £2000-4000+ for a professional install.
Electrical Upgrades Worth Considering
If you’re upgrading from a basic setup:
1. Better battery – Single most significant improvement. More capacity = more freedom.
2. Solar panel – Keeps battery topped up without thinking about it. Brilliant for summer.
3. Battery monitor – Shows exactly what you’re using and what’s left. Takes the guesswork out.
4. LED lights upgrade – If you’ve got old bulbs, switching to LED means they use 90% less power.
5. USB charging points – Modern necessity. Get ones that are fast charging if you can.
Not usually worth it:
- Huge inverters unless you’re full-timing
- Expensive lithium batteries for occasional use
- Massive solar arrays in the UK (the weather’s too inconsistent)
Electrical Mistakes to Avoid
Using the wrong cable. That indoor extension lead isn’t rated for outdoor/camping use. Get proper hookup cables.
Overdischarging lead-acid batteries can kill them faster than regularly reducing them to below 50% if you need more than 50%, upgrade to AGM or lithium.
Assuming all campsites have a 16A hookup. Many older sites are 6A or 10A. Running a kettle and a heater simultaneously will trip it.
Leaving things switched on. Pumps, lights, and phone chargers all drain power. Turn them off when not in use.
Ignoring maintenance. Check that battery terminals are clean and tight. Check cables aren’t chafing. Catches problems before they become expensive.
Winter Electrical Challenges
Winter camping is hard on electrics:
- Batteries hold less charge in cold weather
- Solar panels produce minimal power
- You use more power (lights on longer, heating, etc.)
- Heaters drain batteries fast
Winter survival tips:
- Hookups become almost essential for extended trips
- Insulate your battery compartment
- Run the engine more regularly to charge
- Consider a diesel heater (more efficient than electric)
- Check our heating guide
Final Thoughts on Campervan Electrics
The truth is that campervan electrics seem complicated until you use them. Then they’re just… there, working away, keeping your lights on and your phone charged.
You don’t need to understand everything to use your van successfully, but knowing the basics—what 12v and 240v mean, how your battery works, and where your limits are—makes everything easier.
Start simple. Learn what your van has. Work out what you actually need. Most people overestimate how much power they’ll use and underestimate how clever a basic setup can be.
And remember: thousands of people hire campervans every week and manage their electrics just fine without reading 3000-word guides. You’ll be fine too.
Do you have questions about your specific setup? Check out our practical guide to hiring a campervan or reach out to your van provider. Most issues are simple once someone explains them in plain English.
Now go forth and confidently use those switches. You’ve got this.
Related posts
If you’re renting out your campervan and not accepting dogs, you’re potentially leaving significant money on the table. Data from Quirky Campers shows that …
Where you base your campervan matters a lot. Location affects everything from booking frequency to the rates you can charge and the length of …
If you own a campervan that spends more time on the driveway than on the road, you might be sitting on a genuine income …