
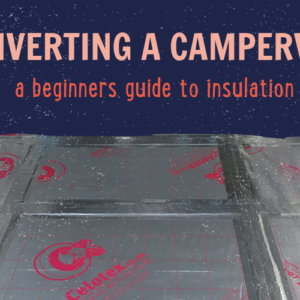
Insulating your self-build campervan effectively is crucial for maximising space and ensuring comfort in hot and cold climates. In this blog, we’ll cover everything you need to know about insulation, from choosing the right materials to combating condensation. Discover how to maximise your van’s thermal resistance and create a cozy, well-regulated space on the road.
Sound Deadening
Before insulating your campervan, it is important to install sound deadening material to absorb driving noise and external sounds. Sound deadening material, such as Noico, is easy to install and sticks directly onto the van’s recessed panels. It is effective in small amounts and should be marked out around any cutouts for windows and vents. This step is crucial for creating a peaceful sleeping and driving environment.
Should you insulate for hot and cold climates?
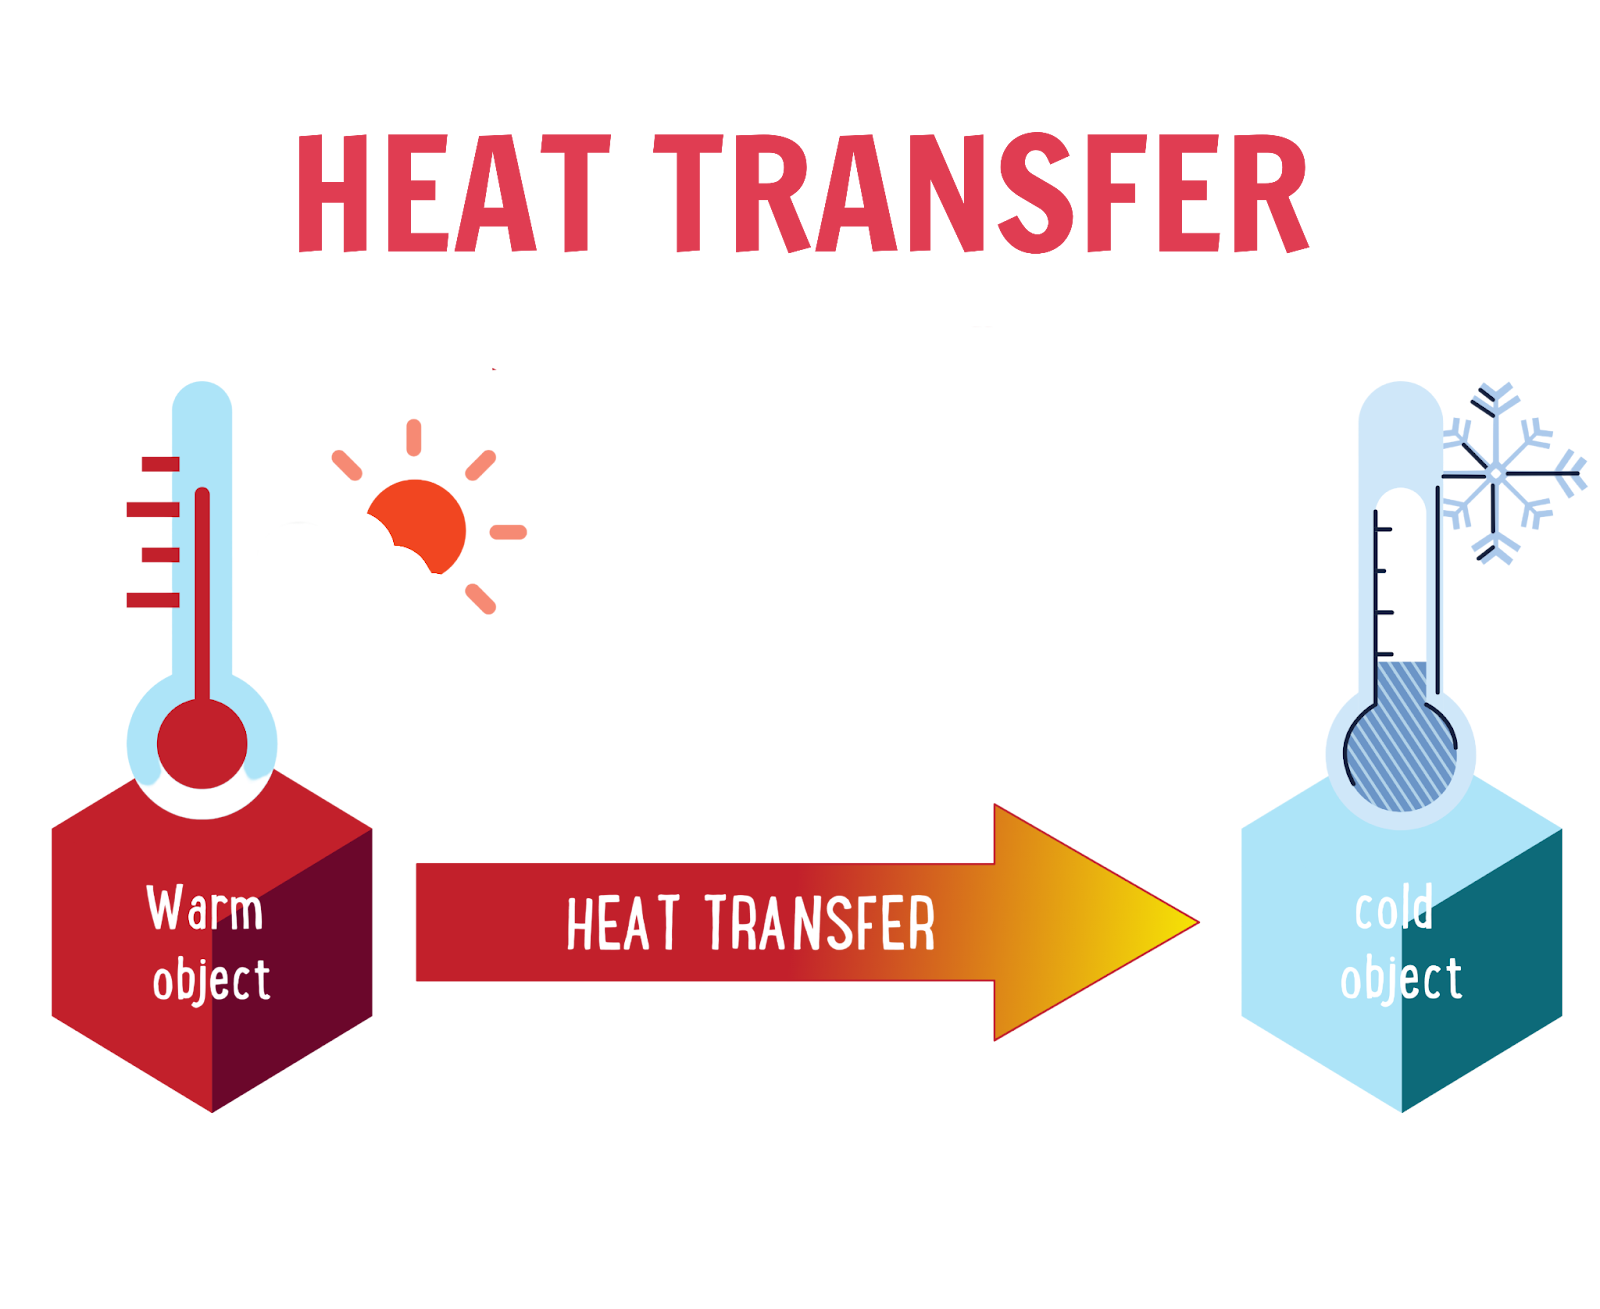
Insulation is usually associated with keeping a space warm in colder climates. However, insulation works equally well in all types of climate. It adds resistance to heat transfer and slows down both heat loss and heat gain.
Heat is always transferred from hot to cold. Your campervan will lose heat from inside to the cold outside in winter and it will gain heat from the warm outside in summer. It makes sense to insulate your van for year-round climate control no matter where you plan to travel.
How to compare insulation materials
When comparing insulation materials, it is important to consider their thermal conductivity, or K-value. The lower the K-value, the less heat will be transferred through the material, making it a better insulator. For example, Rockwool insulation has a K-value value of 0.044 compared to the PIR board which has a K-value of 0.022. This means that we can use half the thickness of PIR board compared to Rockwool and end up with the same thermal resistance to heat transfer, thus gaining valuable interior space.In addition to the K-value, you should also consider the material’s environmental impact and ease of installation. Wool-based insulation is often easier to fit into awkward spaces, while spray foam is easy to apply but requires careful preparation. In our book, “How to Convert a Campervan,” you will find a reference table with all of the critical factors to help you make an informed decision.

Insulating different spaces in your van
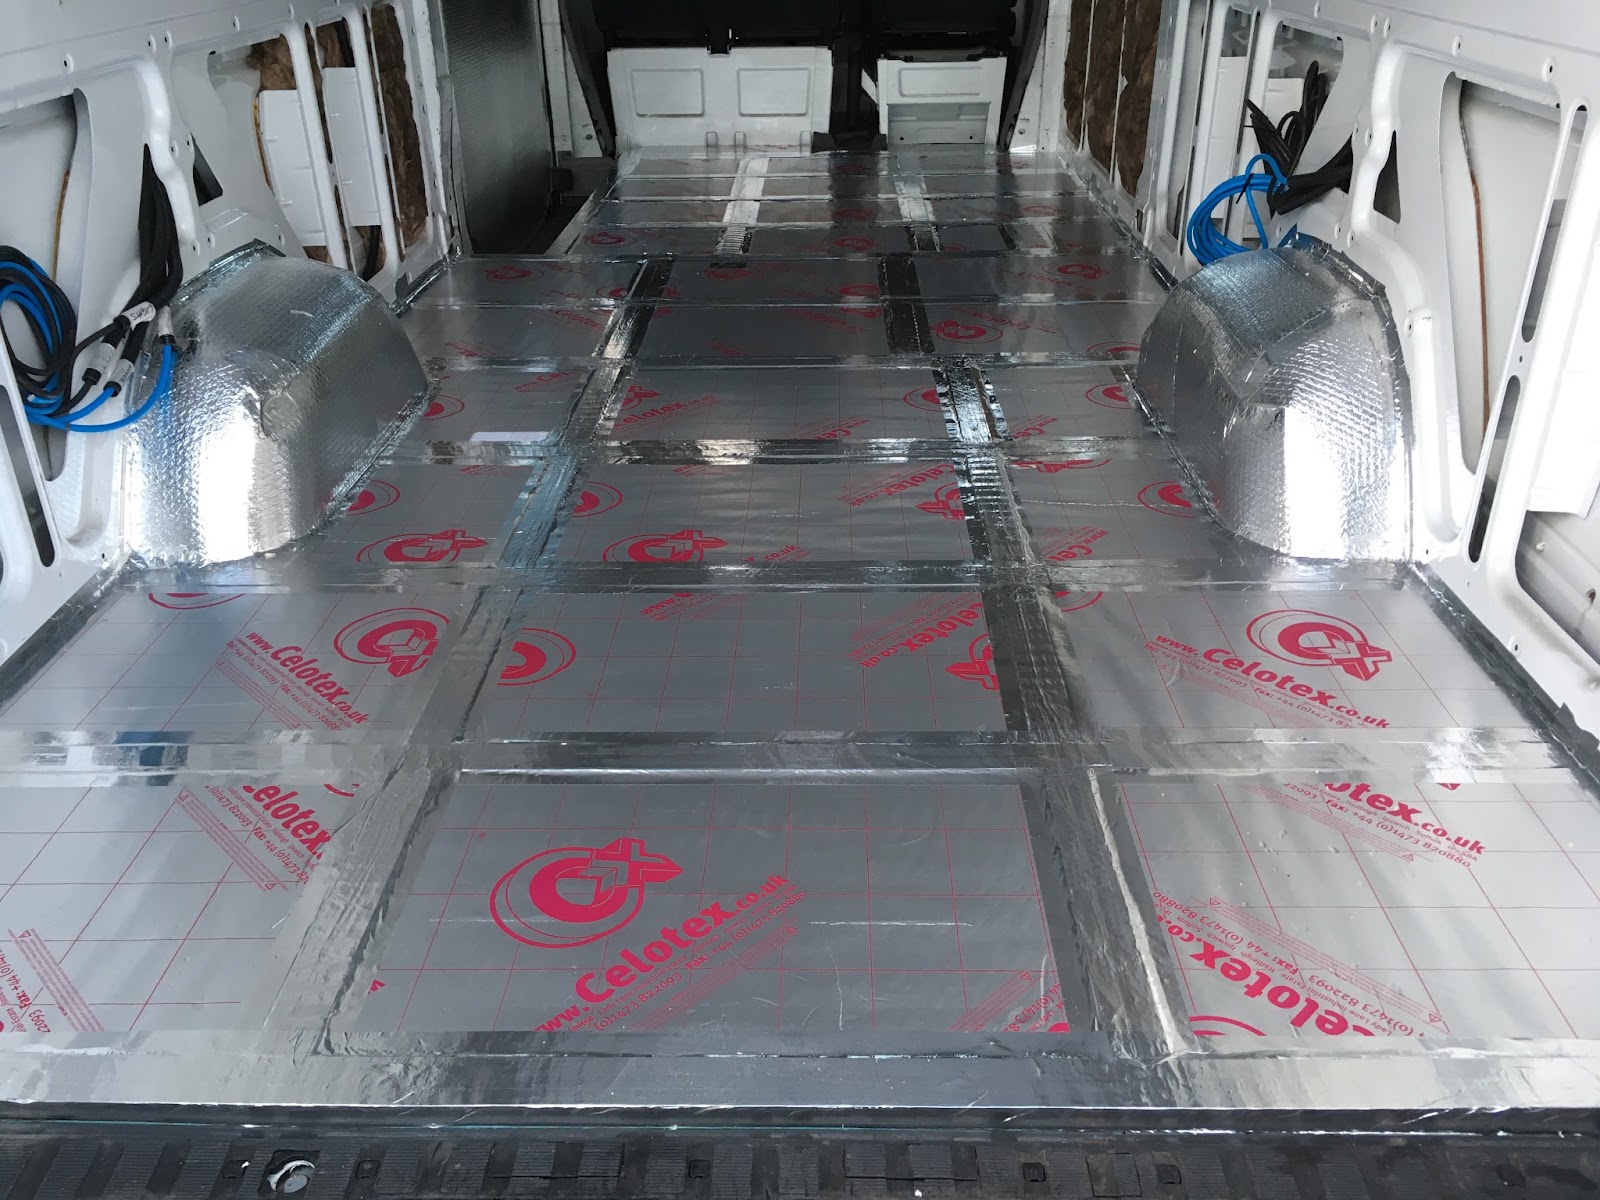
Sub-floor insulation
For the floor insulation, it is advisable to install a sub-grid of timber battens, a maximum of 400mm apart. This will provide adequate support for the new plywood floor and give a firm anchor point for furniture above. The rigid insulation board will withstand being walked on but over time could compress slightly. The timber will prevent this from happening. The battens can be stuck to the metal floor using Sikaflex strong adhesive or fixed securely with stainless steel self-drilling screws.
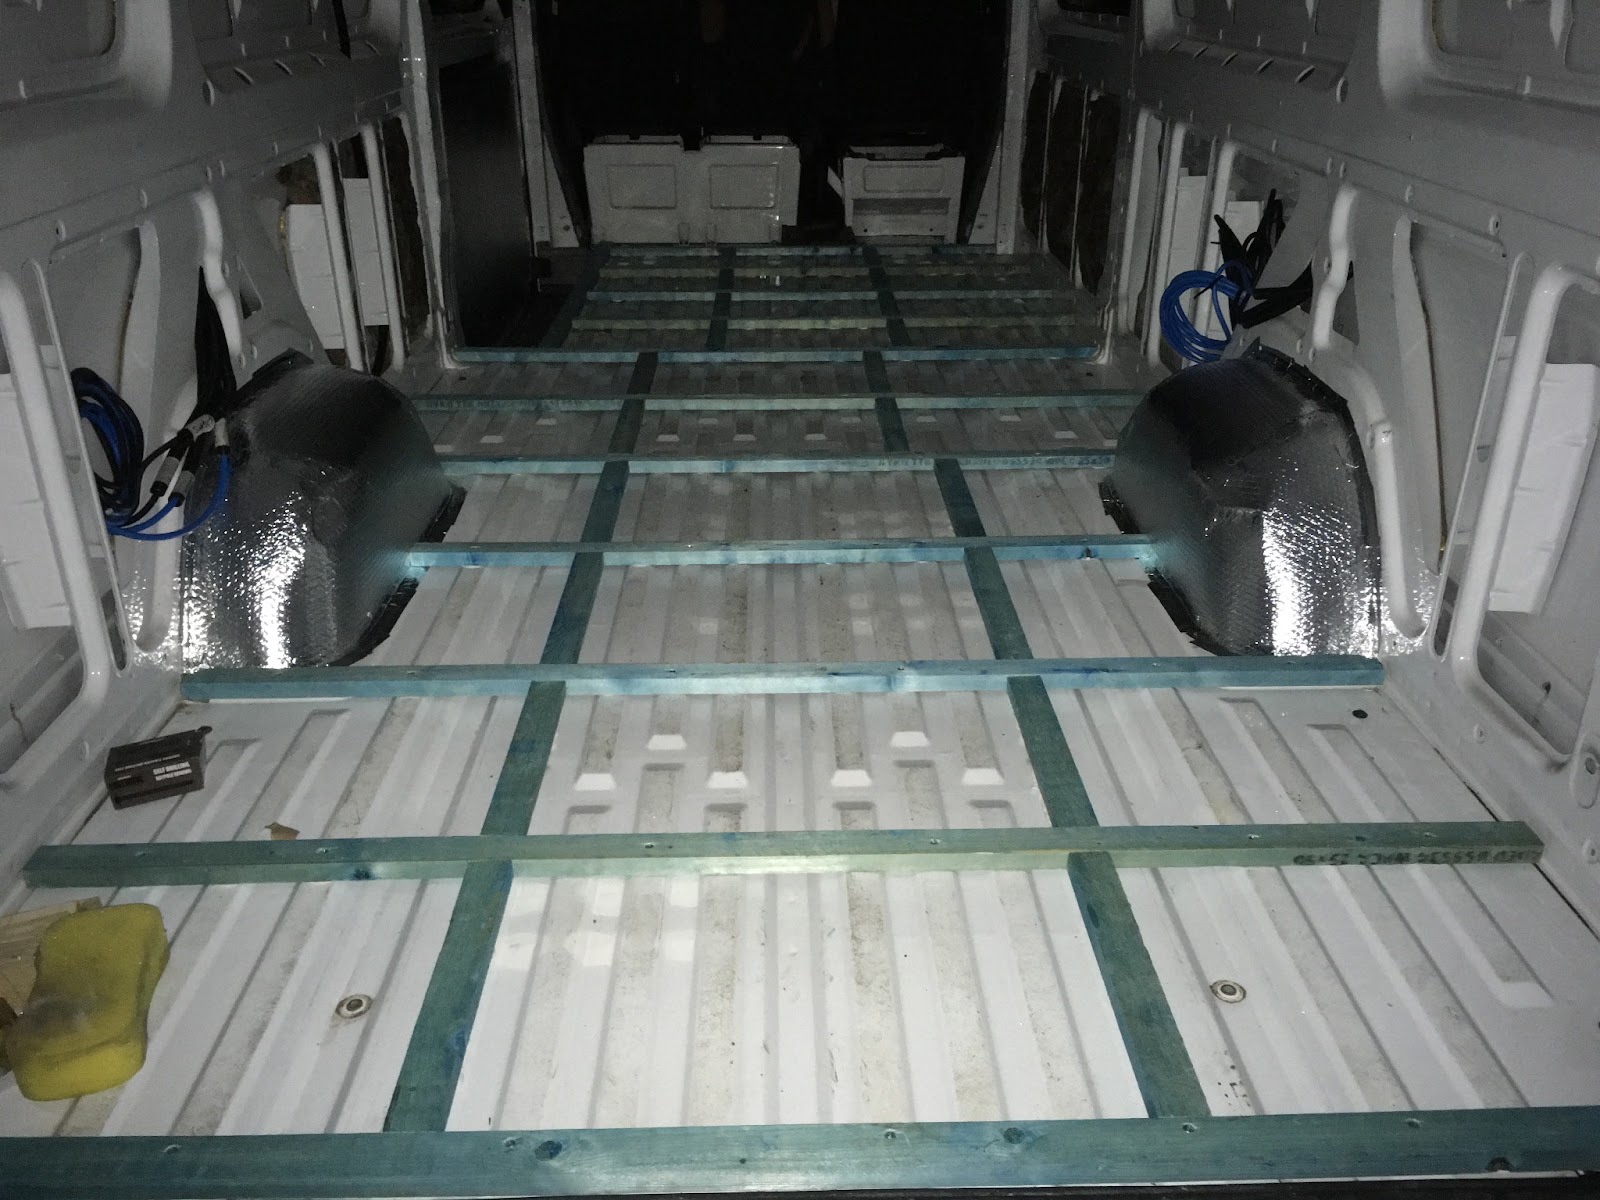
PIR foil-faced insulation boards can then be cut to fit snugly between these timber battens. The boards come in different thicknesses starting at 25mm. The foil face on the insulation board is a vapour barrier. It prevents moisture-laden air from penetrating the insulation and coming into contact with the cold metal of the van where it could form condensation. Apply foil tape over the battens onto the insulation board to complete this barrier.
Wall insulation
If your campervan is a Luton or box van where the walls are flat then the perfect insulation is a rigid PIR board as this gives the best insulation value for its thickness and can be easily secured to the flat surfaces. It can also be used on the large flat areas of most panel vans.
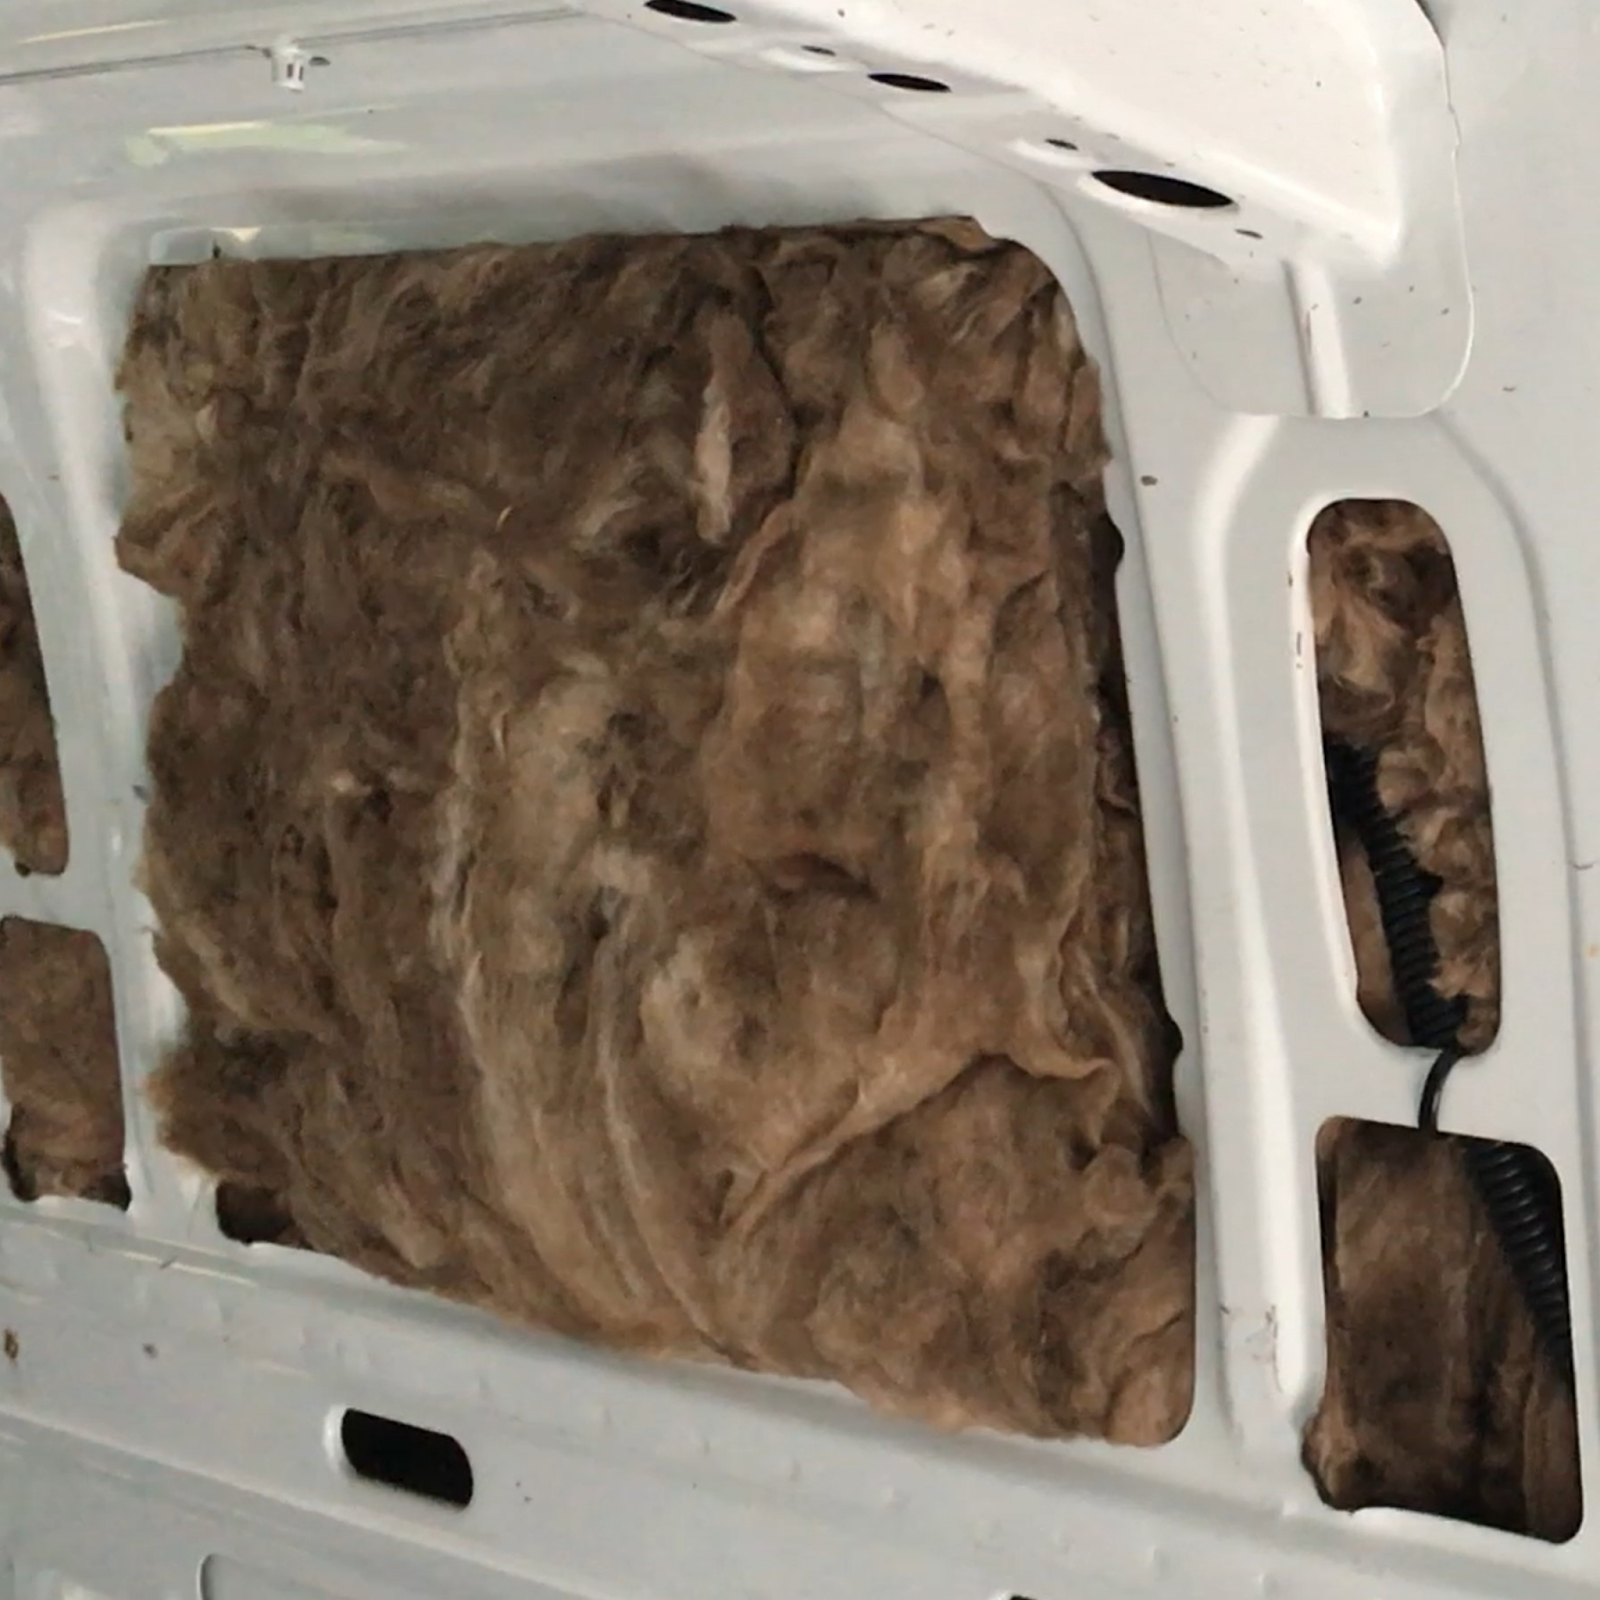
For the more difficult voids at high and low level where there is a lot of structural steel, it is best to use a woollen material that still has good insulation properties but is easier to install and can be moulded to suit these awkward areas. The insulation should be applied directly to the metal skin of the van and fill all the spaces as best as possible. Once the insulation has been applied, cover everything with a vapour barrier to prevent the moist air inside your van from getting to the cold skin of the vehicle.
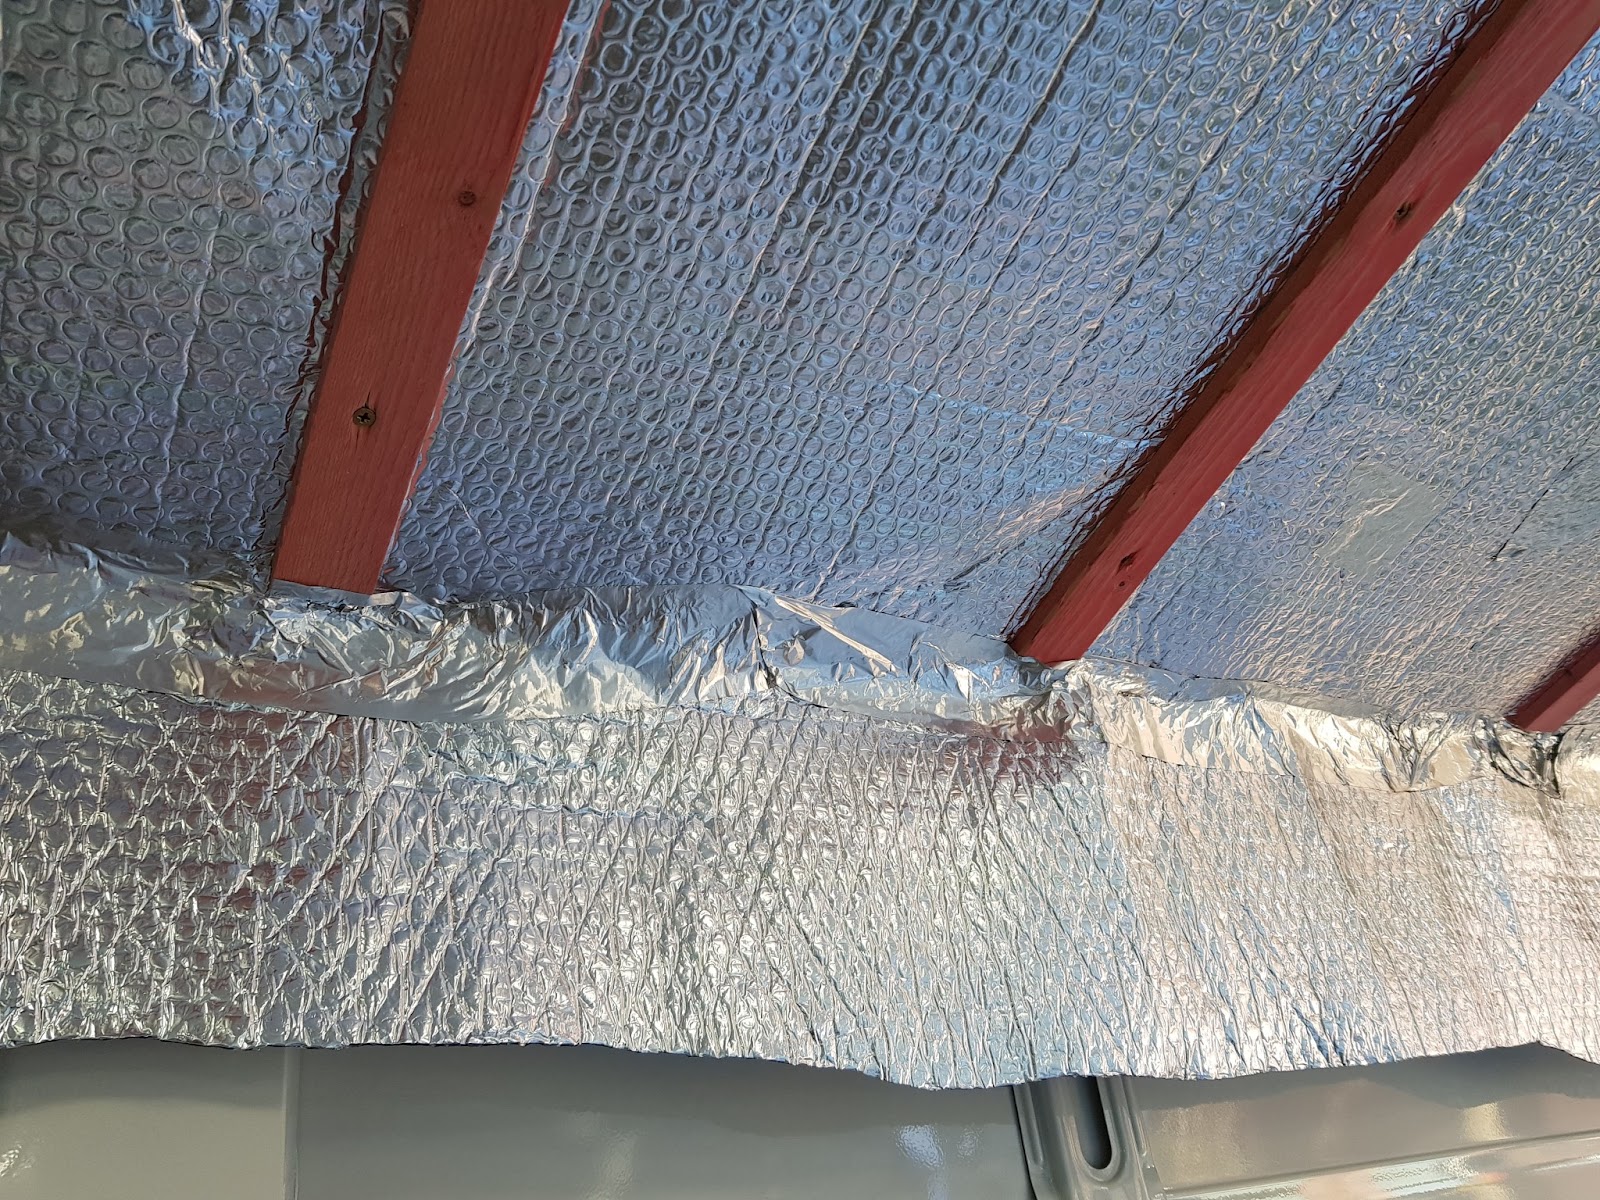
Roof insulation
On most campervans the roof is relatively flat, with a slight curve in some cases. You can still use a PIR board type insulation in between the structural beams of the roof by cutting them into shorter sections following the curve of the roof.
To hold this insulation in place there is a product available called stick pins, which are long aluminium pins on a flat base with strong adhesive tape on the back. You stick the flat plate to the skin of the van and push your insulation onto the sharp spikes. A securing cap pushed over the spike prevents the insulation from falling off.
Once the insulation is secured to the roof and all the beams have been filled with woollen insulation, cover the entire ceiling with a vapour barrier, making sure to foil tape all joints and edges.
Problems with moisture in a campervan
Moisture can build up in a campervan due to breathing, sweating, cooking, and burning LPG. This can lead to condensation, which can damage the van and make it uncomfortable to live in. To reduce condensation, it is important to provide adequate ventilation and keep the van warm with a dry air heating system. This will keep the air warm and help it hold more moisture, preventing condensation from forming. To learn more about condensation and how to prevent it, check out our book.
In conclusion
There is no doubt that you will thank yourself for any effort you make to insulate your campervan against the sun and the cold. However, unlike a house which you can build to passive standards, vans will always be made up of a lot of (single-glazed) windows, drafts and cold-bridges. So by all means do your best, but don’t let perfect be the enemy of good as Voltaire would say.
For more information on insulation, weight, gas, electrics and any other aspects to converting a campervan, check out our How to Convert a Campervan book.
If you’re a visual learner, why not join our Book Owners Club (currently discounted to £34.95) which not only gives you physical and digital copies of the book, you’ll also receive exclusive access to a wide range of how-to videos featuring professional campervan converters, including a workshop on how to install insulation.