



A campervan is really two purchases in one. There is the van underneath, which you can check like any used vehicle, and there is the conversion built into it, which most buyers do not know how to assess at all. The conversion is where most of the money goes, and it is also where the risks hide.
A tidy-looking interior can still hide dangerous gas work, a damp problem building behind the panels, or wiring put together by someone learning as they went. Here is how to look past the cushions and check the things that matter. For the whole buying process, our complete pre-purchase checklist covers the van and the paperwork; this guide goes deeper on the build itself.
Start with the gas, because it is the one that can hurt you
Badly fitted LPG gas is the most dangerous fault a conversion can have, so check it first. Ask to see a current gas safety certificate. In the UK, only a Gas Safe registered engineer with the LPG and LAV (Leisure Accommodation Vehicles) qualification can certify a campervan’s gas system. A general habitation check from an NCC workshop is not the same thing, and those workshops are not always able to work on a self-build.
Even without a certificate, you can spot warning signs. The gas bottle should sit in a sealed locker that vents out through the floor, there should be an LPG sticker on the outside of the van, pipework should be proper copper with compression fittings, and there must be a working carbon monoxide alarm. Burners should light with a clean blue flame. If the gas looks improvised, treat it as a job that needs a Gas Safe engineer before you use the van. Our guide to getting gas sign-off explains what a safe install looks like. Gas systems should also be retested roughly once a year.
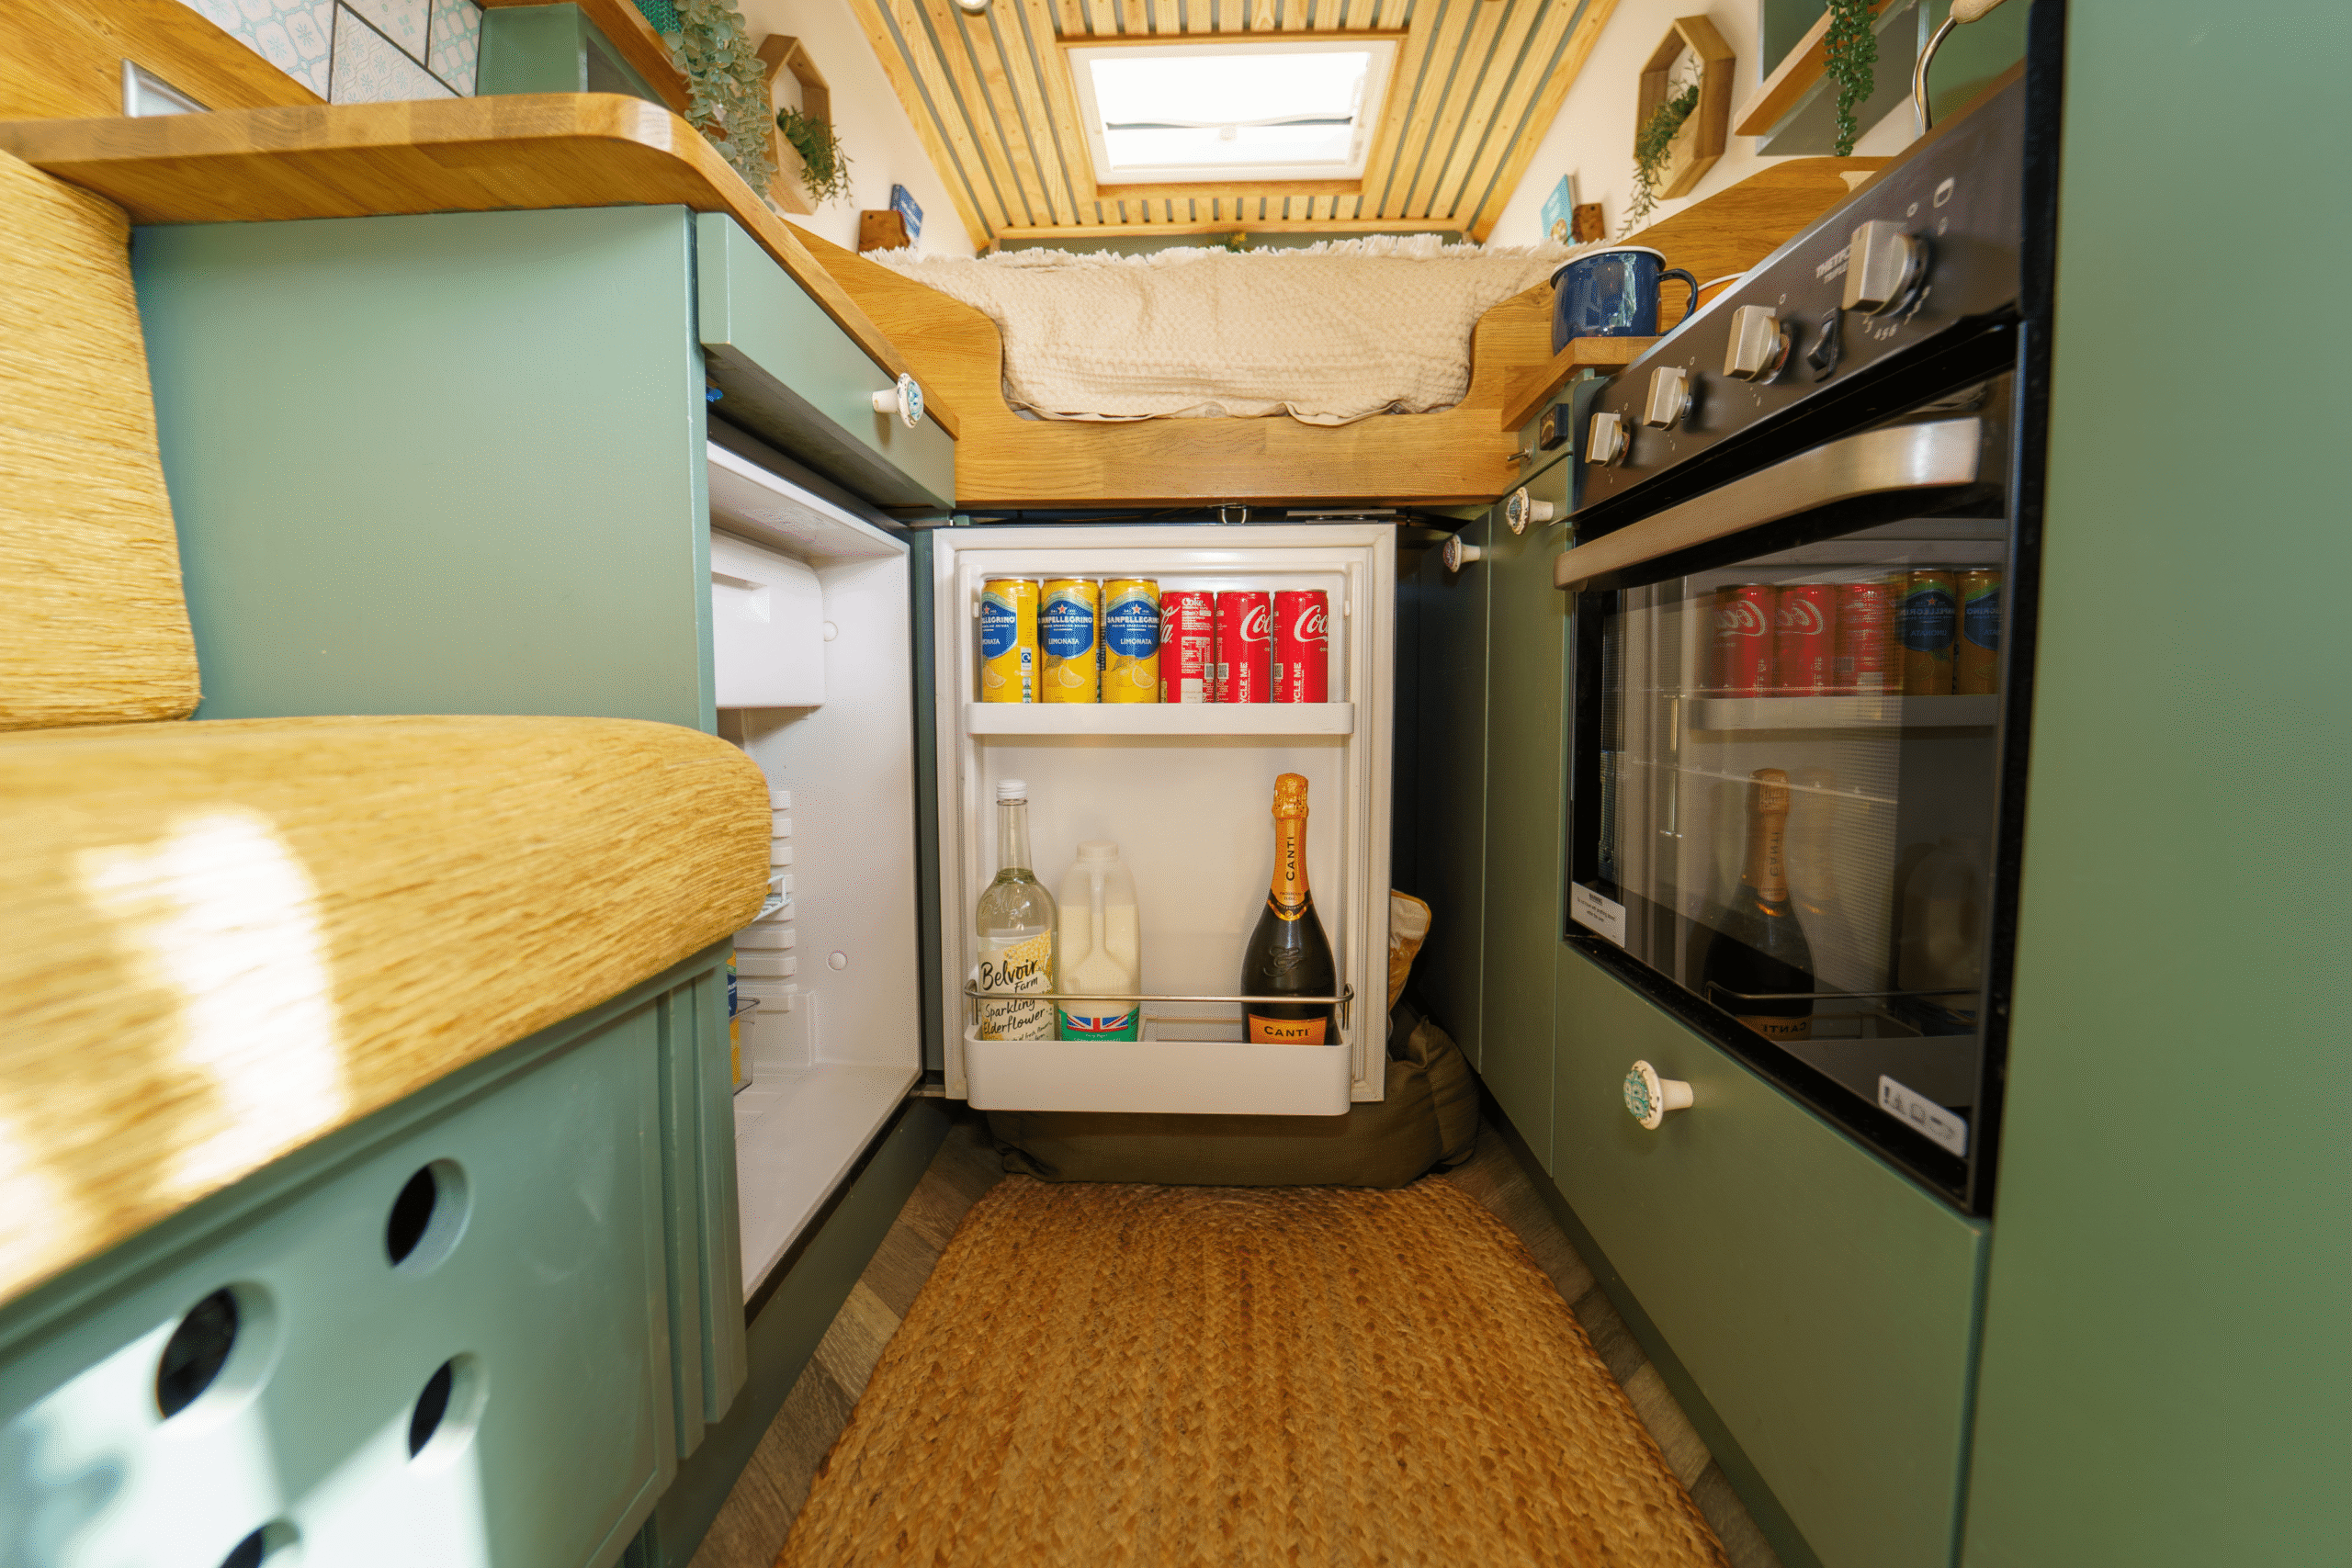
The electrics: look for sign-off, not just sockets
A conversion has two electrical systems. The 12v side runs the lights, water pump, USB points and fridge off a leisure battery. The 240v side is household mains, used on a hookup. A safe 240v install should come with an Electrical Installation Certificate from a qualified electrician and an RCD that cuts the power if there is a fault, so ask whether the mains side has been signed off.
On the 12v side, look for sensible fusing, tidy and labelled cable runs, and a proper leisure battery setup with a split-charge relay or a battery-to-battery charger. A mess of unfused wires is both a fire risk and a sign of a rushed build. Our campervan electrics guide explains what a good system looks like, so you can judge what is in front of you.
Check carefully for damp
Damp is the most common serious fault in a conversion. Water gets in around roof fittings like vents, solar brackets and heater flues, around windows, and along the join between the original van and any high-top roof. Once it is in, it rots the timber frame and ruins the insulation.
On a viewing, trust your nose first, because a musty smell is a clear warning. Press around windows, roof lights and the lower corners for soft or spongy spots, lift the mattress and cushions to check for staining, and look at the ceiling around anything fitted through the roof. A damp meter is cheap and worth taking with you. Damp can be fixed, but it can be expensive, and how much of it you find tells you how carefully the van was built and looked after.
Insulation and ventilation
You cannot see the insulation behind the panels, but you can judge how well the van deals with moisture. Ask what insulation was used and how the van copes with condensation in winter. A van with poor insulation and not enough ventilation will run with condensation, grow mould in the corners and feel cold however hard the heater works. Look for proper roof vents and windows that open, and treat damp-stained trim or mould as a sign of a build that traps moisture rather than managing it.
Build quality and the water system
Open and close every cupboard and drawer, sit firmly on the bed base, and check that units are fixed into the floor and walls rather than just screwed into thin ply. Good joinery feels solid and square. A wobbly unit or screws pulling loose points to a rushed job, and where you can see corners cut, assume there are more you cannot.
Then run the water. Switch the pump on, check the taps flow without leaks under the sink, and look over the fresh and waste tanks. A working, leak-free water system is a small thing that usually means the rest was done with care.
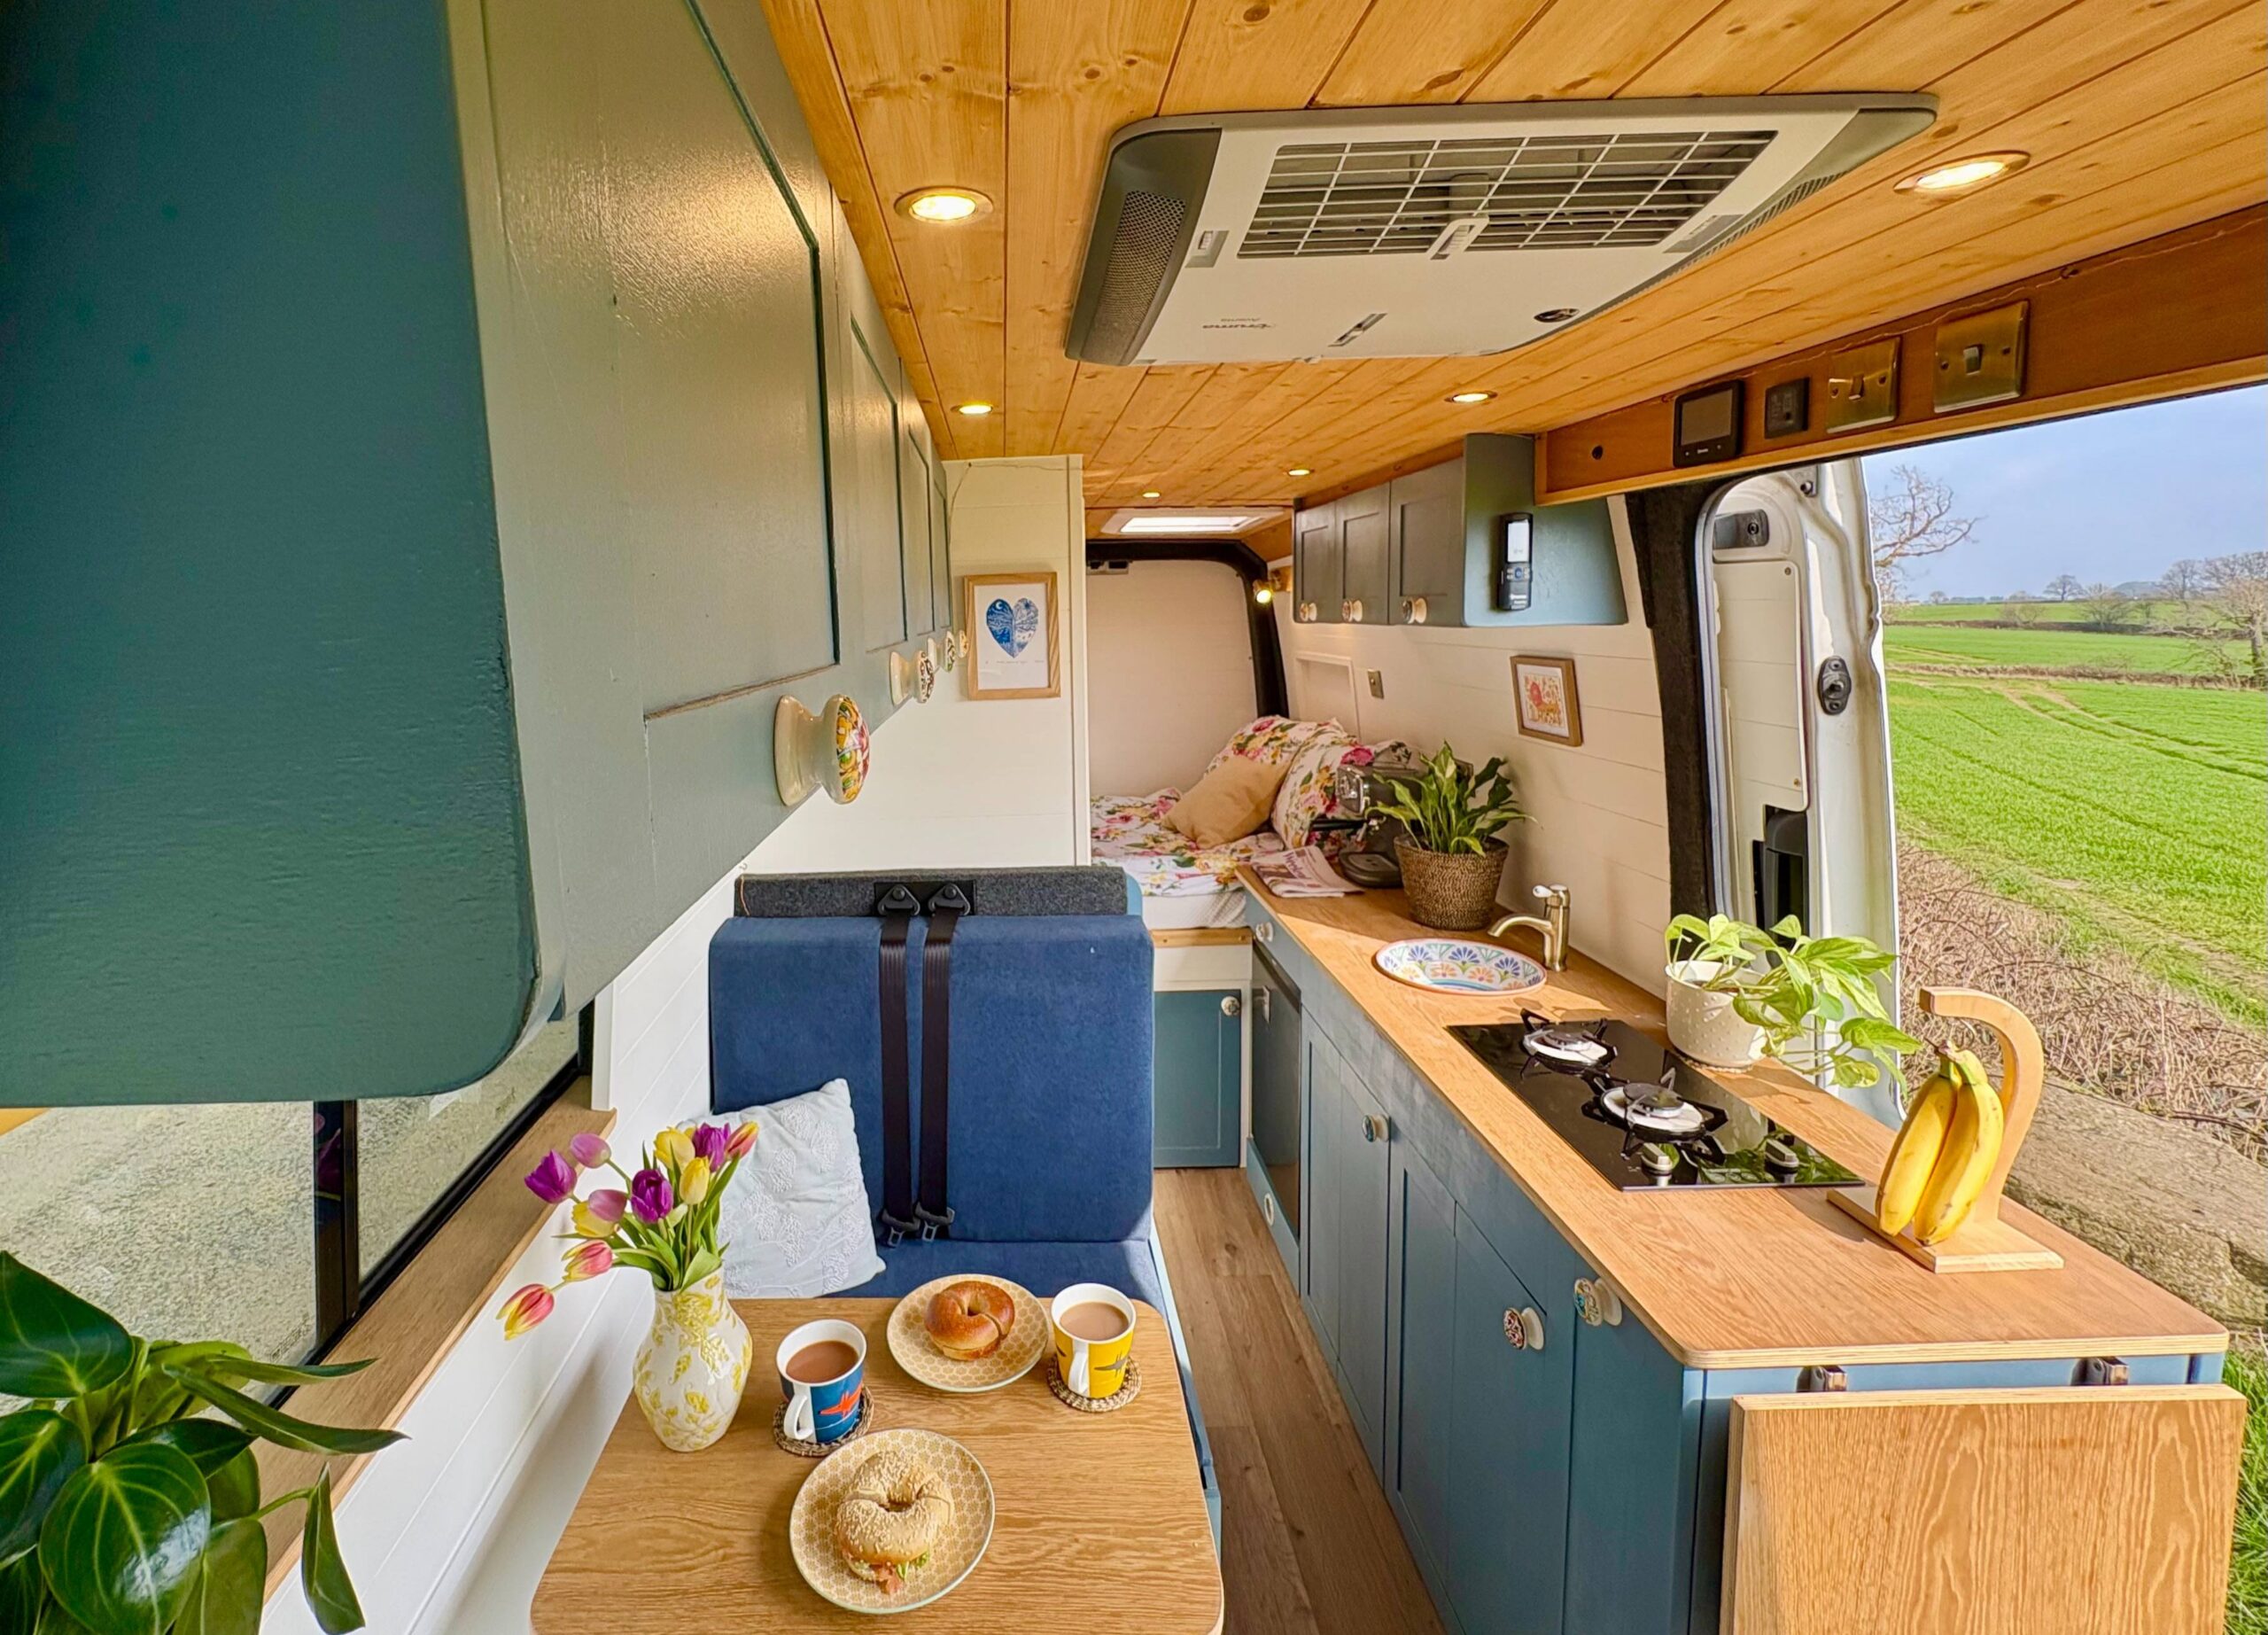
Test everything that should work
On the viewing, do not just look, switch things on. Run the heater, usually a diesel or gas blown-air unit from a maker like Webasto or Eberspächer, and let it come up to temperature. Turn on the fridge, the lights, the water pump and any fans, and check the leisure battery holds up while they run. A solar panel and a battery monitor are good signs of a considered build. Anything that does not work, or that the seller cannot show you working, is either a fault or a job waiting for you, so price it in.
Do not forget the van underneath
A flawless conversion on a tired, rusty van is still a tired, rusty van. Check the base vehicle as you would any used purchase: MOT history, service record, rust around the wheel arches and sills, and how it drives. The conversion is the part people fixate on, but the engine, gearbox and bodywork are what get you home and back, so do not let a lovely interior distract you from a worn-out vehicle.
Self-build or professional?
Neither is automatically better. A professional conversion should come with certificates and a documented, tidy build, but you should still ask to see the gas and electrical paperwork rather than assume it exists. A self-build can be outstanding or alarming, and the only way to know is to check exactly the things above. A carefully done self-build can easily outclass a cheap professional one. The certificates and the standard of the work tell the real story, not the badge on the listing.
Once you know what to look for, browse the campervans for sale and put it into practice, and take the full pre-purchase checklist with you so nothing gets missed on the day. And if you are new to all this, hiring a campervan first is a good way to learn what a well-built conversion should feel like before you inspect one to buy.